
Gel nails have become a popular choice for many. They offer a long-lasting, chip-resistant finish that can last up to two weeks.
But did you know you can achieve salon-quality gel nails at home?
This step-by-step guide is designed to help you master the art of applying gel nails. Whether you're an aspiring nail technician or a home enthusiast, this guide is for you.
We'll cover everything from nail preparation to application techniques, curing, and maintenance. We'll also provide troubleshooting tips for common issues.
By the end of this guide, you'll have the knowledge and confidence to create beautiful gel nails at home.
Understanding Gel Nails and Their Benefits
Gel nails are a type of artificial nail enhancement made using a gel-based product. They are known for their glossy finish and durability.
Doing gel nails at home has several benefits. It's cost-effective compared to salon visits, and it allows you to express your creativity. Plus, you can do it at your own pace, in the comfort of your home.
Essential Tools and Products for At-Home Gel Nails
To do gel nails at home, you'll need some essential tools and products. These include a nail file, cuticle pusher, and buffer to prepare your nails.
You'll also need a dehydrator and primer to ensure the gel polish adheres properly. A base coat, gel nail polish, and topcoat are necessary for the application process.
An LED or UV lamp is crucial for curing the gel polish. This hardens the polish and gives it its long-lasting properties.
Here's a quick list of the essentials:
- Nail file- Cuticle pusher
- Buffer
- Dehydrator
- Primer
- Base coat
- Gel nail polish
- Topcoat
- LED or UV lamp
Remember, quality tools and products can make a significant difference in the outcome of your gel nails. So, invest wisely.
Preparing Your Nails for Gel Application

Before you start applying gel polish, it's crucial to prepare your nails properly. This step is key to achieving a smooth, long-lasting finish.
Start by filing your nails to your desired shape. Then, use a cuticle pusher to gently push back your cuticles. This creates a clean canvas for the gel polish.
Next, use a buffer to lightly buff the surface of your nails. This helps the gel polish adhere better.
Finally, apply a dehydrator and primer to your nails. These products remove oils and create an ideal surface for the gel polish.
Applying the Base Coat
Once your nails are prepped, it's time to apply the base coat. This layer is essential as it helps the gel polish stick to your nails.
Apply a thin, even layer of base coat to each nail. Be careful not to get any on your skin or cuticles, as this can cause lifting.
After applying the base coat, cure it under an LED or UV lamp. The curing time will depend on the specific product and lamp you're using.
Remember, patience is key. Rushing this step can lead to a less-than-perfect finish.
Gel Nail Polish Application Techniques

Now that your base coat is cured, it's time to apply the gel nail polish. This step requires precision and a steady hand.
Start by applying a thin layer of gel polish to each nail. Remember, it's better to apply multiple thin layers than one thick one.
Avoid touching the skin or cuticles with the polish. This can cause the polish to lift or peel off prematurely.
Cure each layer under the lamp before applying the next. This ensures each layer is fully set and reduces the risk of smudging.
If you want a more opaque colour, you can apply additional layers. Just remember to cure each one before moving on to the next.
Finally, don't forget to seal the free edge of your nail with each layer. This helps prevent chipping and extends the life of your manicure.
Curing the Gel Polish
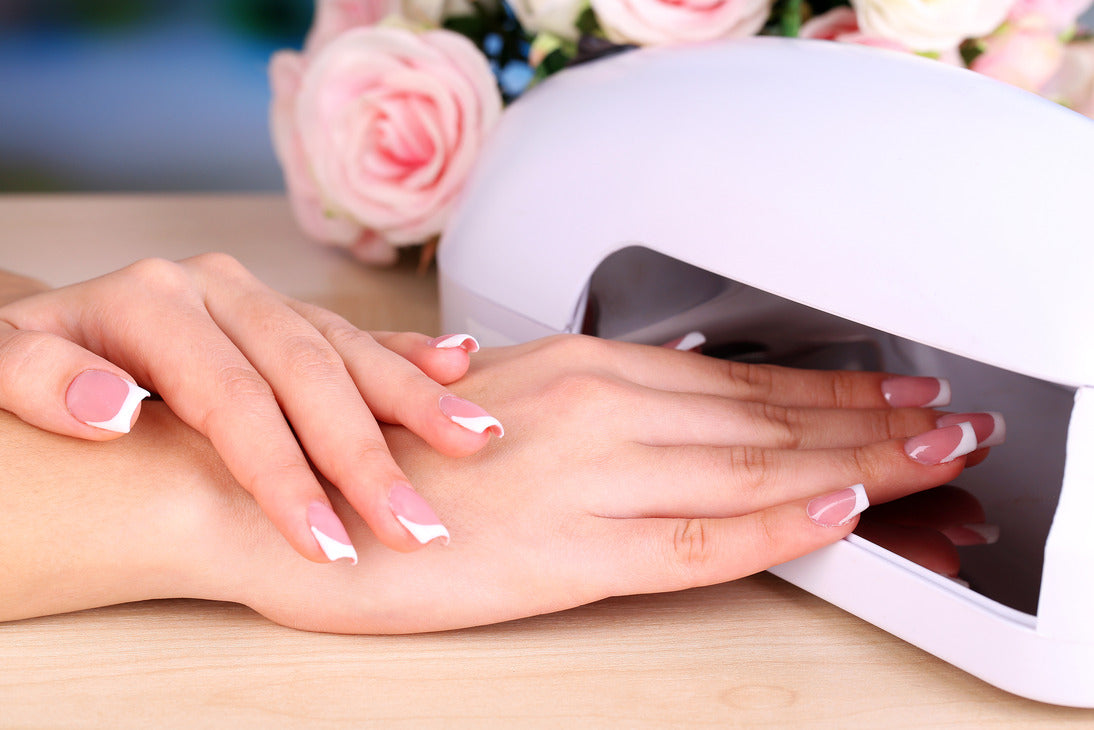
Curing is a crucial step in the gel nail process. It hardens the polish and helps it last longer.
Place your nails under a UV or LED lamp to cure the polish. Follow the manufacturer's instructions for the recommended curing time.
Remember, curing times can vary depending on the type of lamp and the brand of gel polish. Typically, a base coat or colour coat can take 30-60 seconds to cure under an LED lamp.
Always use the lamp safely. Avoid looking directly at the light and never use the lamp on broken or damaged skin.
Adding the Top Coat and Finishing Touches
After curing the colour coat, it's time for the topcoat. This layer adds shine and protects the colour underneath.
Apply a thin layer of topcoat to each nail. Remember to seal the free edge to prevent chipping.
Cure the topcoat under the lamp. This usually takes a bit longer than the colour coat, around 60-90 seconds.
Once cured, wipe off the sticky layer with a lint-free wipe soaked in alcohol. Now, admire your shiny, salon-quality gel nails at home!
Maintaining and Removing Gel Nails Safely
Gel nails can last up to two weeks with proper care. Avoid using your nails as tools to prevent chipping or peeling.
When it's time for removal, don't peel off the gel. This can damage your natural nails. Instead, soak your nails in acetone for about 15 minutes.
After the gel has softened, gently push it off with a cuticle pusher. If any gel remains, repeat the soaking process.
Finally, moisturise your nails and cuticles. This helps to restore hydration after the acetone soak.
Troubleshooting Common Gel Nail Issues
If you notice your gel nails lifting or peeling, it could be due to improper preparation. Ensure your nails are clean, dry, and free of oils before application.
For streaky polish, try applying thinner layers. Remember, it's better to build up colour with multiple thin coats than one thick one.
Conclusion and Further Learning
Mastering the art of gel nails at home takes practice and patience. But with the right tools, techniques, and a keen eye for detail, you can achieve salon-quality results.
For further learning, consider online tutorials, nail care courses, and networking with other nail technicians. Keep practicing and perfecting your skills.


