Tips for Repairing Broken or Chipped Nails
Nail care is an essential part of personal grooming, and knowing how to repair broken or chipped nails is a valuable skill. Whether you're an aspiring nail technician or simply someone who loves maintaining beautiful nails, this guide will help you learn effective nail repair techniques.
Understanding Nail Damage
Before diving into repair techniques, it's essential to understand what causes nails to break or chip. Nails can become damaged due to various factors such as:
- Physical Trauma: Bumping or snagging your nails against hard surfaces.
- Weak Nails: Brittle nails are more prone to breaking.
- Improper Nail Care: Using nails as tools or neglecting regular maintenance.
- Environmental Factors: Exposure to harsh chemicals or extreme weather conditions.
Understanding the cause can help in preventing future damage.
Immediate Steps to Take When a Nail Breaks

If you notice a nail has broken or chipped, follow these immediate steps to prevent further damage:
- Clean the Area: Wash your hands and gently clean the broken nail with mild soap and water.
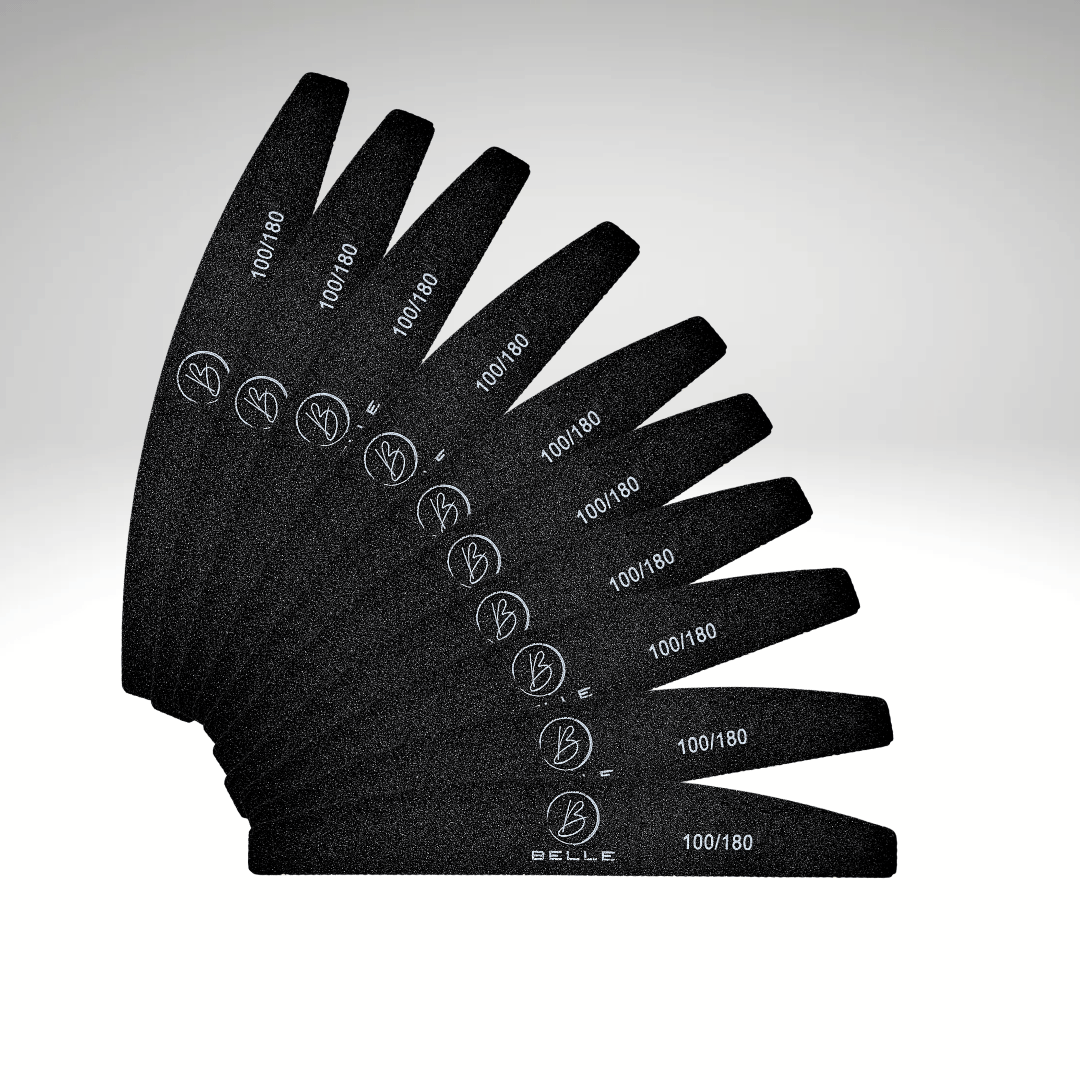
- Trim and File: Use a nail clipper to trim any jagged edges. File the nail smoothly to prevent it from catching on anything.
- Avoid Pulling or Tearing: Never pull or tear at a broken nail, as this can cause more damage and pain.
Repair Techniques for Broken Nails
Using a Tea Bag
One of the most popular and effective methods for repairing a broken nail is the tea bag technique. Here’s how you can do it:
- Gather Supplies: You'll need a tea bag, nail glue, scissors, a nail file, and a top coat.
- Cut the Tea Bag: Empty the tea bag and cut a small piece that will cover the broken area of your nail.
- Apply Nail Glue: Put a small amount of nail glue on the broken part of your nail.
- Place the Tea Bag: Press the cut piece of the tea bag onto the glue, ensuring it covers the break.
- Smooth and File: Once the glue is dry, gently file the nail to smooth out any rough edges.
- Seal with Top Coat: Apply a top coat to seal the repair and add extra strength.
Using Nail Silk Wrap
Nail silk wraps are another excellent option for repairing broken nails. Here’s a step-by-step guide:
- Prepare the Nail: Clean and file the broken nail as described earlier.
- Cut the Silk Wrap: Cut a piece of silk wrap to fit over the broken area.
- Apply Adhesive: Brush nail adhesive over the break and place the silk wrap on top.
- Smooth and File: Once the adhesive is dry, file the nail to smooth out any bumps.
- Apply Top Coat: Seal the repair with a top coat for added durability.
Using Gel or Acrylic
For a more permanent solution, you can use gel or acrylic to repair a broken nail. This method requires more skill and the right tools:
- Clean and Prep: Clean the nail and remove any polish.
- Apply Primer: Use a nail primer to prepare the nail surface.
- Apply Gel or Acrylic: Using a brush, apply a thin layer of gel or acrylic over the break.
- Cure or Dry: If using gel, cure it under a UV or LED lamp. For acrylic, allow it to air dry.
- File and Shape: Once dry, file the nail to your desired shape.
- Finish with Top Coat: Apply a top coat to seal and protect the repair.
Tips for Maintaining Healthy Nails
Preventing breaks and chips is always better than repairing them. Here are some tips for maintaining healthy nails:
- Regular Trimming: Keep your nails trimmed to a manageable length.
- Moisturise: Use cuticle oil and hand cream regularly to keep nails and skin hydrated.
- Use Gentle Products: Avoid harsh chemicals and use nail-friendly products.
- Wear Gloves: Protect your nails when doing chores or working with chemicals.
- Avoid Biting: Refrain from biting your nails as it weakens them.
Frequently Asked Questions
How Can I Strengthen My Nails?
To strengthen your nails, ensure you have a balanced diet rich in vitamins and minerals. Consider taking biotin supplements and using nail hardeners.
Can I Repair a Nail Without Nail Glue?
Yes, you can use clear nail polish as a temporary adhesive. Apply multiple layers to build strength.
How Long Does a Nail Repair Last?
The longevity of a nail repair depends on the method used and how well you care for your nails afterward. Tea bag repairs may last a few days to a week, while gel or acrylic repairs can last for several weeks.
Conclusion
Repairing broken or chipped nails is a valuable skill that can save you time and money. By following these practical tips and techniques, you can maintain beautiful, healthy nails. Remember, regular maintenance and gentle care are key to preventing nail damage in the first place.
Now that you're equipped with these nail repair techniques, you can confidently handle any nail mishaps that come your way. Happy nail caring!