Step-by-step guide to removing acrylic nails
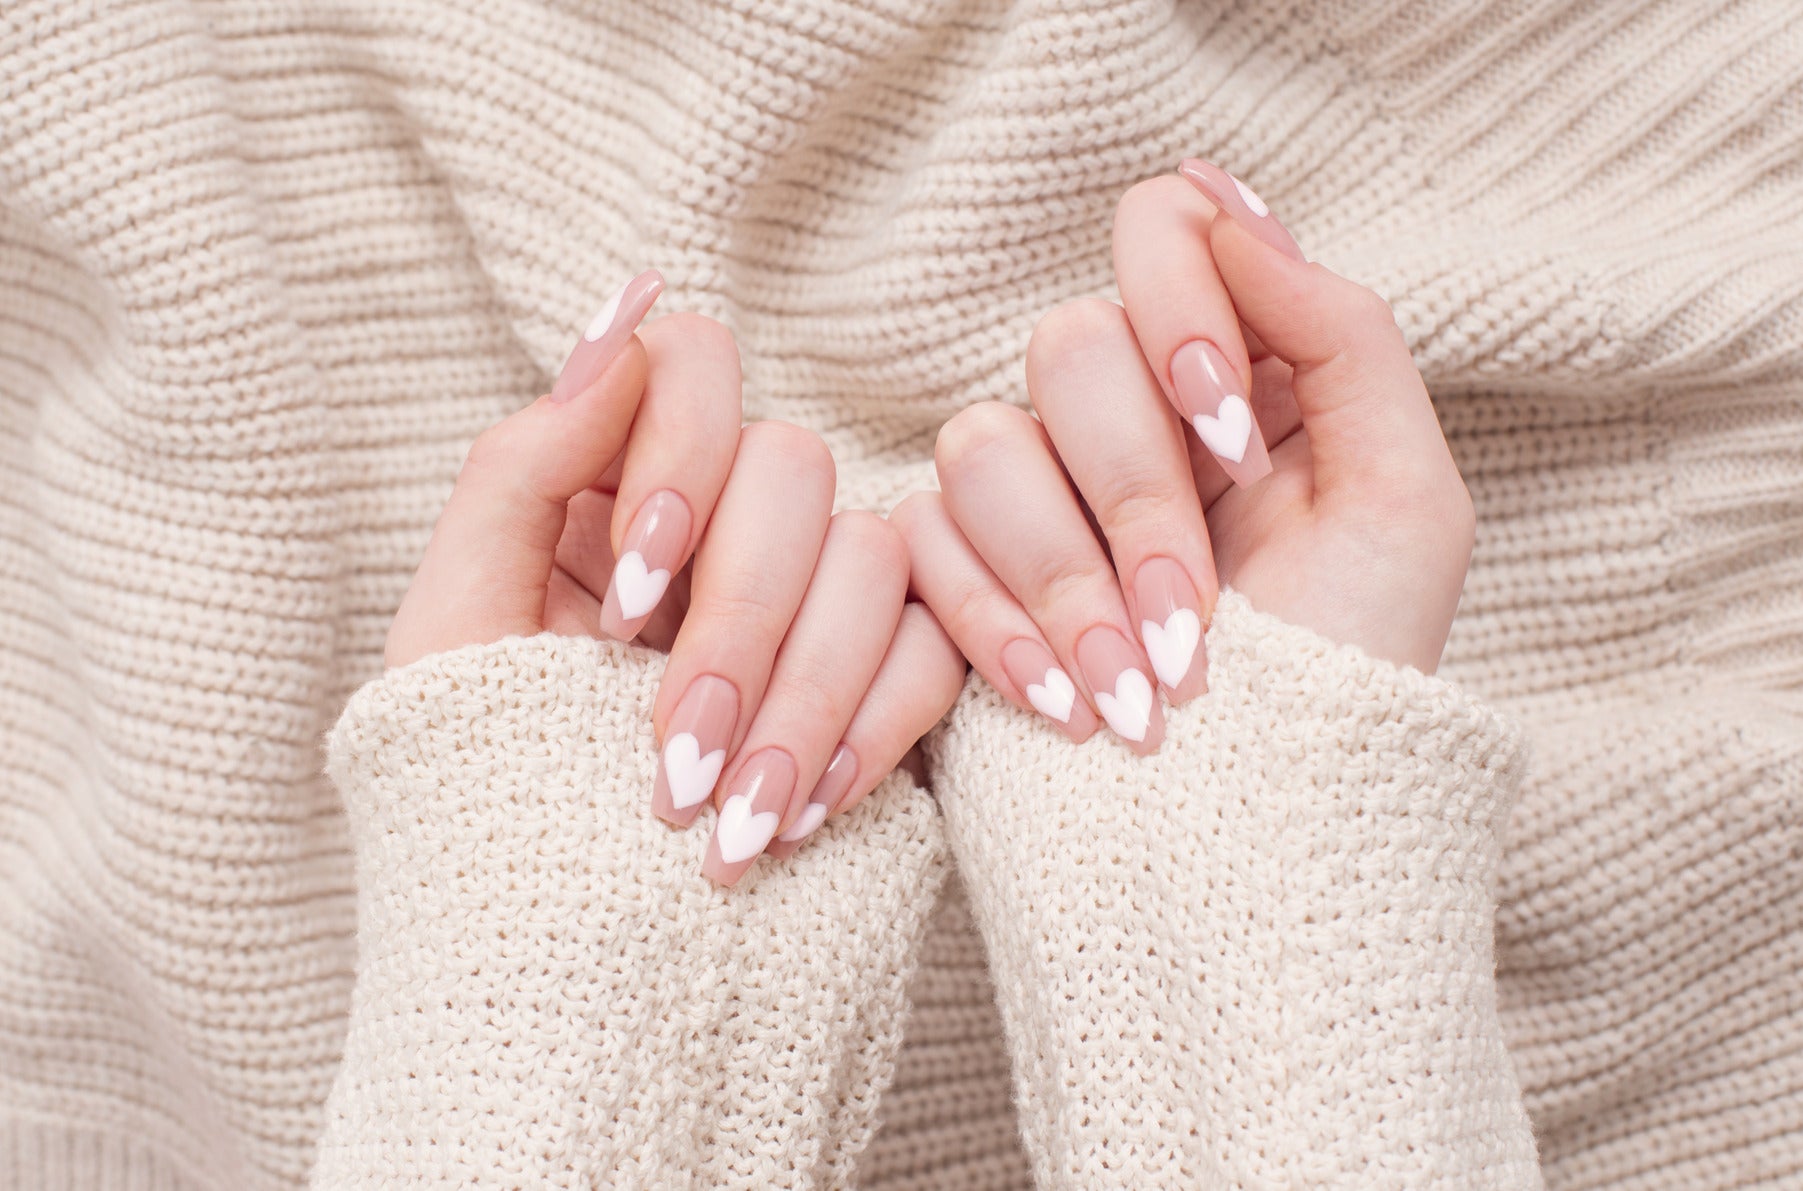
Acrylic nails are a popular choice for those seeking a long-lasting, glamorous look. However, when it comes to removing them, it's crucial to do it right.
This step-by-step guide will walk you through the process of safely removing acrylic nails at home. It's designed to help you avoid damage to your natural nails and keep them healthy.
Regardless of whether you've completed this process before, or if you're a complete beginner, this guide will provide you with the knowledge you need to remove your acrylic tips.
Preparing to Remove Acrylic Nails

Before you start the process of removing your acrylic nails, preparation is crucial. This involves gathering all the necessary tools and getting your nails ready for the removal process.
Here's a list of supplies you'll need:
- Nail clippers- Nail file
- Pure acetone
- Cotton balls
- Aluminum foil
- Cuticle pusher or orange stick
- Cuticle oil
- Hand cream
Gather Your Supplies
Having all your supplies at hand will make the process smoother. It's important to use pure acetone as it's the most effective at breaking down the acrylic material.
Remember to protect your skin from the harsh effects of acetone.
Trimming and Filing
Start by clipping your acrylic nails down as much as possible. Be careful not to cut your natural nails.
Next, gently file the surface of the acrylics. This helps to break the seal and allows the acetone to penetrate more effectively.
Remember, the goal is to thin out the acrylic layer, not to file down to your natural nail.
Removing the Acrylic Nails
Now that your nails are prepped, it's time to start the removal process. This involves soaking your nails in acetone to dissolve the acrylic.
Remember, patience is key during this process. Rushing can lead to damage to your natural nails.
Acetone Soak Method

Start by soaking cotton balls in acetone. Place these on your nails, ensuring they cover the entire acrylic surface.
Next, wrap each nail with a piece of aluminium foil. This helps to keep the cotton ball in place and increases the effectiveness of the soak.
Leave your nails to soak for about 20-30 minutes. Check often to see if the acrylic is softening.
If the acrylic doesn't come off easily, soak for an additional 5-10 minutes. Never force or pull the acrylic off as this can damage your natural nails.
Once the acrylic is soft, gently push it off with a cuticle pusher or orange stick.
Removing Acrylic Residue
After removing the bulk of the acrylic, there may be some residue left. Use a nail buffer to smooth out any remaining acrylic or rough edges.
Remember to be gentle during this process. Aggressive buffing can lead to thinning and weakening of your natural nails.
Aftercare for Natural Nails
Once you fully remove the acrylic, it's time to care for your natural nails. This is an important step to restore their health and strength.
Remember, your nails may feel weak or sensitive after the removal process. This is normal and should improve with proper care.
Washing and Hydrating
Start by washing your hands with soap and water. This helps to remove any acetone residue which can be drying to your skin and nails.
Next, apply a hydrating hand cream or oil. This helps to replenish moisture and prevent dryness and brittleness.
Nail and Cuticle Care
After hydrating, apply a cuticle oil or cream. This helps to nourish and protect your cuticles, promoting healthy nail growth.
Also, consider using a nail strengthener. This can help to reinforce your natural nails, especially if they feel weak or brittle after removing the acrylics.
Tips for Healthy Nails Post-Acrylics
Maintaining healthy nails after removing acrylics is crucial. Here are some tips to help you keep your nails in top shape.
Regular Maintenance
Trim and file your nails regularly. This helps to prevent breakage and keeps them looking neat.
Also, moisturise your hands and nails daily. This helps to maintain hydration and promotes healthy nail growth.
When to Seek Professional Help
If you notice any signs of infection or damage, consult a professional. This includes persistent pain, swelling, or discolouration.
Remember, it's always better to seek help early. This can prevent further damage and ensure your nails stay healthy.
Conclusion
Removing acrylic nails at home can be a simple and cost-effective process. Just remember to follow each step carefully to avoid damaging your natural nails.
With proper care and maintenance, your nails can stay healthy and strong even after acrylics.
For the best tips and advice on maintaining your nails, be sure to view our blog!