How to Apply Acrylic Powder: A Step-by-Step Guide
Introduction
Welcome to Belle Beauty's comprehensive guide on how to apply acrylic powder like a professional nail technician. Acrylic nails have become a popular choice for those seeking durable and stylish manicures.
Learning to apply acrylic powder can be a game-changer, allowing you to create beautiful, long-lasting nails in the comfort of your own home. In this step-by-step tutorial, we will walk you through the process, providing valuable tips and tricks along the way. So, let's get started and achieve flawless, salon-worthy nails together!
Gather Your Supplies
Before you begin, it's essential to have all the necessary tools and materials at hand. Here's what you'll need:
a. Acrylic powder: Choose a high-quality acrylic powder in the colour of your preference. Opt for a reputable brand to ensure the best results, such as Belle Beauty's Acrylic Powder range.
b. Acrylic liquid (monomer): This liquid is essential for the acrylic powder to create a workable paste.
c. Nail primer: A primer helps to prepare the natural nail surface, promoting better adhesion of the acrylic.
d. Nail tips or forms: Nail tips are pre-shaped extensions that you can apply over your natural nails. Alternatively, you can use forms to create custom nail extensions.
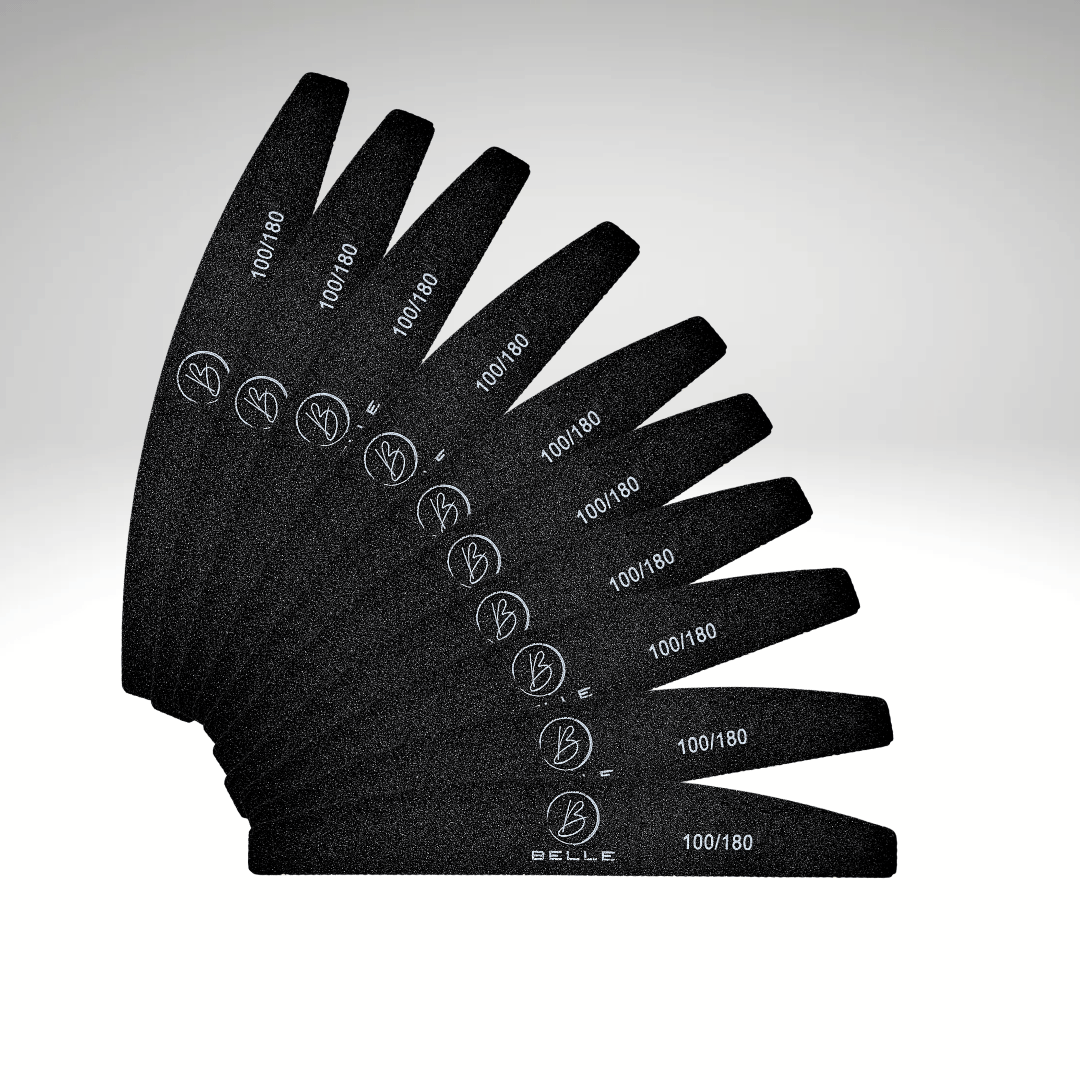
e. Nail file and buffer: A file is necessary to shape and refine the nails, while a buffer smooths and shines the surface.
f. Nail brush: Invest in a high-quality acrylic nail brush designed specifically for precise application.
g. Dappen dish: This small container is used to hold the acrylic liquid during the application process.
h. Paper towels or lint-free wipes: For cleaning brushes and wiping away excess liquid.
i. Cuticle pusher: To gently push back and tidy up cuticles before applying the acrylic.
Prepare Your Nails
a. Start by removing any traces of old nail polish with a non-acetone nail polish remover. Clean and dry your nails thoroughly.
b. Push back your cuticles gently with a cuticle pusher, revealing a clean nail bed.
c. Use a nail file to shape your nails according to your preference. Whether you prefer square, round, or almond-shaped nails, shaping them correctly will impact the overall look of your acrylic nails.
d. Lightly buff the surface of your nails to create a slightly rough texture. This will help the acrylic adhere better to your natural nails.
Apply Nail Tips or Forms
a. If you're using nail tips, select the appropriate size for each nail and apply them using nail glue. Ensure they fit snugly without any gaps.
b. For forms, slide them under the free edge of your natural nail, creating a guide for the acrylic extension. Secure the form's edges to ensure it stays in place during application.
Apply Primer
a. Before applying the acrylic, it's crucial to use a nail primer on your natural nails. Apply a thin layer of primer to each nail, avoiding the skin and cuticles. Allow it to dry for a few seconds before proceeding.
Mixing the Acrylic
a. Pour a small amount of acrylic liquid (monomer) into the dappen dish. Then, dip your acrylic brush into the liquid, wiping off any excess on the edge of the dish.
b. Gently dip the brush into the acrylic powder, picking up a small bead of the powder. Work on small quantities of acrylic at a time to maintain control over the application.
c. The correct acrylic-to-liquid ratio is crucial for a smooth and workable paste. Aim for a wetter consistency for easier application, but avoid making it too runny.
Apply the Acrylic
a. Starting at the base of the nail near the cuticle, place the acrylic bead and gently press it toward the nail tip. Use the belly of the brush to shape the acrylic, creating a smooth and even layer.
b. Continue this process on each nail, one at a time, until all the nails are covered with acrylic.
c. To achieve the desired thickness, you may need to apply additional beads of acrylic on each nail. Work quickly but carefully to ensure the acrylic doesn't dry before shaping it.
Shaping the Acrylic
a. Once the acrylic has dried, you can begin shaping the nails using a nail file. Start by shaping the free edge, creating the desired length and shape.
b. Be mindful of the pressure applied during filing, as excessive force can damage the acrylic or your natural nails.
c. Use a buffer to smooth the surface of the acrylic, removing any file marks and achieve a flawless finish.
Finishing Touches
a. After shaping and buffing, wash your hands to remove any dust or debris from the acrylic process.
b. Apply a high quality gel polish and top coat until you achieve the colour you desire.
c. Apply cuticle oil or hand cream to nourish your nails and cuticles, leaving them looking healthy and well-maintained.
Conclusion
Congratulations! You have successfully learned how to apply acrylic powder for stunning and durable nails. With practice and patience, you'll be able to create a variety of designs and colour combinations to suit any occasion.
Remember to maintain your acrylic nails by applying cuticle oil regularly and getting refills or touch-ups as needed. Enjoy your beautiful, salon-worthy nails that are sure to turn heads wherever you go!