How to Apply Builder Gel at Home – Step-by-Step for Beginners
So, you’ve picked up a builder gel kit and you’re ready to create strong, sculpted nails from the comfort of your own home—amazing choice! Whether you're using one of our Gel Nail Kits or exploring our Builder Gel Collection, this step-by-step guide will walk you through exactly how to apply builder gel nails at home, even if you’re new to it.
Let’s get started!
🧼 Step 1: Prep Your Natural Nails
Proper prep is essential for long-lasting builder gel nails.
-
Push back and tidy cuticles using your cuticle pusher or nippers.
-
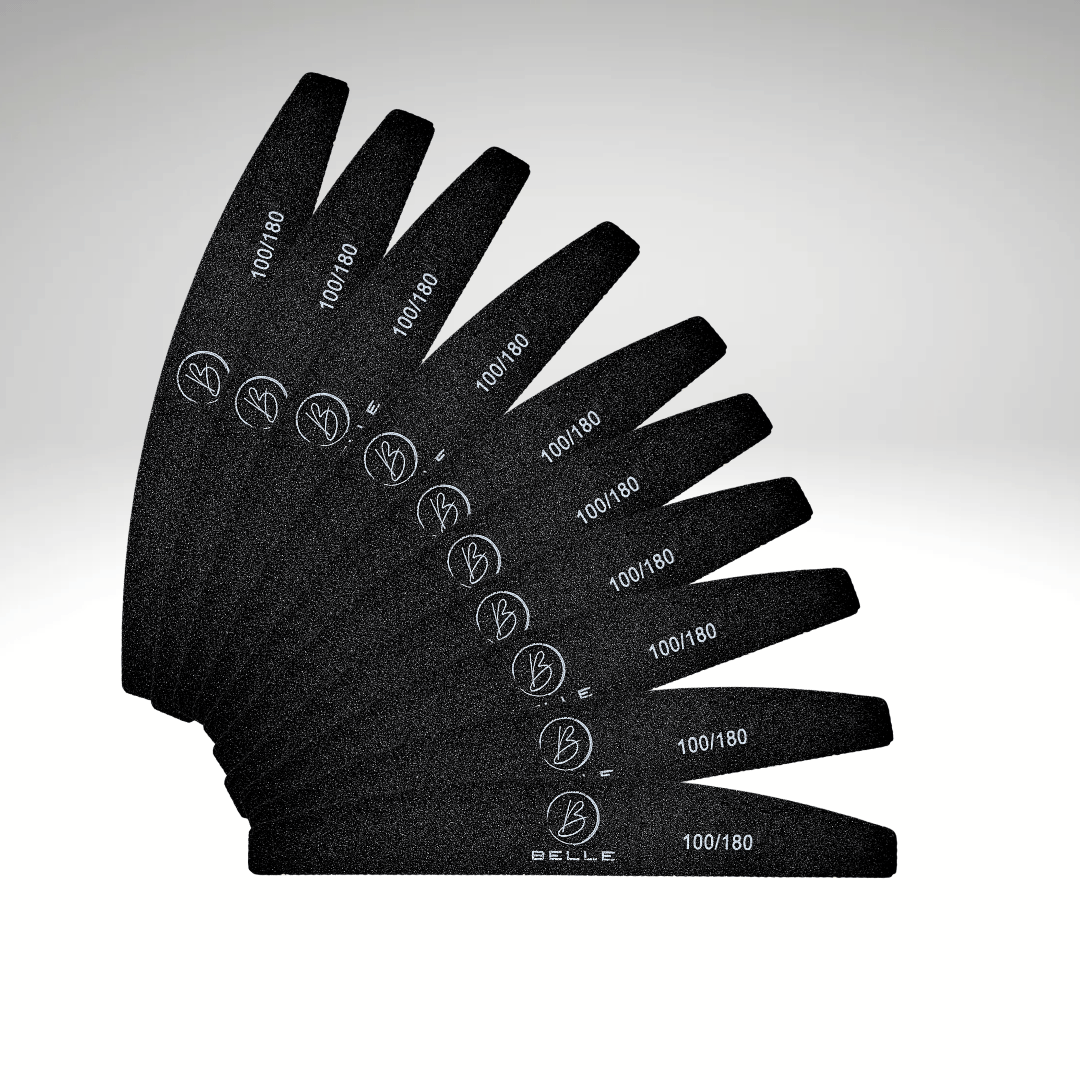
Shape the free edge with a 180-grit nail file.
-
Lightly buff the surface of the nail to remove shine (not too much—just enough for grip).
-
Wipe away dust with a lint-free wipe and nail cleanser.
👉 Top Tip: Clean prep helps avoid lifting and improves adhesion.
💧 Step 2: Dehydrate & Prime
This step ensures the builder gel bonds properly to your natural nail.
-
Apply nail dehydrator to remove moisture and oils.
-
Follow with nail primer, focusing on the nail plate and avoiding the skin.
-
Apply a thin layer of Base Coat and cure under a UV/LED lamp for 60 seconds, or until dry.
👉 If you're using the Advanced Gel Nail Kit, both of these products are included.
🖌️ Step 3: Apply a Base Layer of Builder Gel
Unlike BIAB, which often includes a built-in base, builder gel requires a separate base layer.
-
Using your builder gel brush, apply a very thin slip layer of builder gel to the nail.
-
Do not cure this layer—it acts like double-sided tape for the next step.
🧱 Step 4: Build the Structure
This is where the magic happens!
-
Pick up a small bead of builder gel with your brush.
-
Gently float the gel over the nail, focusing the bulk of the product where the nail needs strength (typically near the apex or stress point).
-
Let it self-level for a few seconds. Use a fine liner brush to guide gel toward the sidewalls if needed.
👉 Beginner Tip: Work on one or two nails at a time to prevent the gel from running into cuticles.
-
Cure under your UV/LED lamp for 60–90 seconds (check your gel's instructions).
🧽 Step 5: Cleanse & File
Once cured, there will be a sticky residue—don’t worry, that’s normal!
-
Wipe away the inhibition layer with a lint-free wipe.
-
Use a 180-grit file to refine the shape and smooth the surface.
-
Buff if needed, then dust off and wipe clean again.
✨ Step 6: Apply Top Coat
-
Apply a thin, even layer of top coat.
-
Cure one final time under the lamp.
-
Wipe off any tackiness (if it’s a non-no-wipe top coat, skip this step).
-
Massage in some cuticle oil to nourish and finish the look.
🏁 Optional: Add Colour or Nail Art
If you want to add gel polish, chrome powder, or nail art:
-
Apply it after the builder gel has been filed and before your final top coat.
-
Cure in between each layer as you go.
🌟 Your Builder Gel Toolkit at Home
To get started, we recommend:
✔️ Builder Gel Collection
✔️ Advanced Gel Nail Kit – includes lamp, brushes, prep products & builder gels
✔️ Professional UV Lamp
✔️ Cuticle Oil & Nail Files for flawless finishing
👏 Final Thoughts
Applying builder gel at home might seem intimidating at first—but with the right products and a little patience, you’ll soon be creating strong, sculpted nails that look like they came straight from the salon. And the best part? You can tailor each set to your exact style, every time.